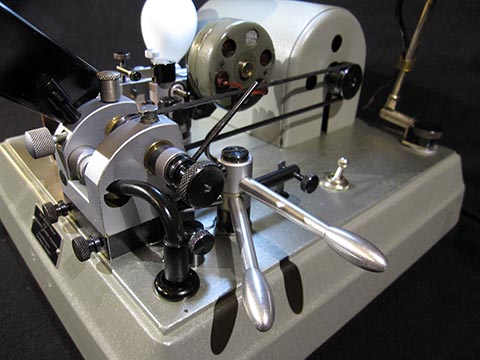
Type I

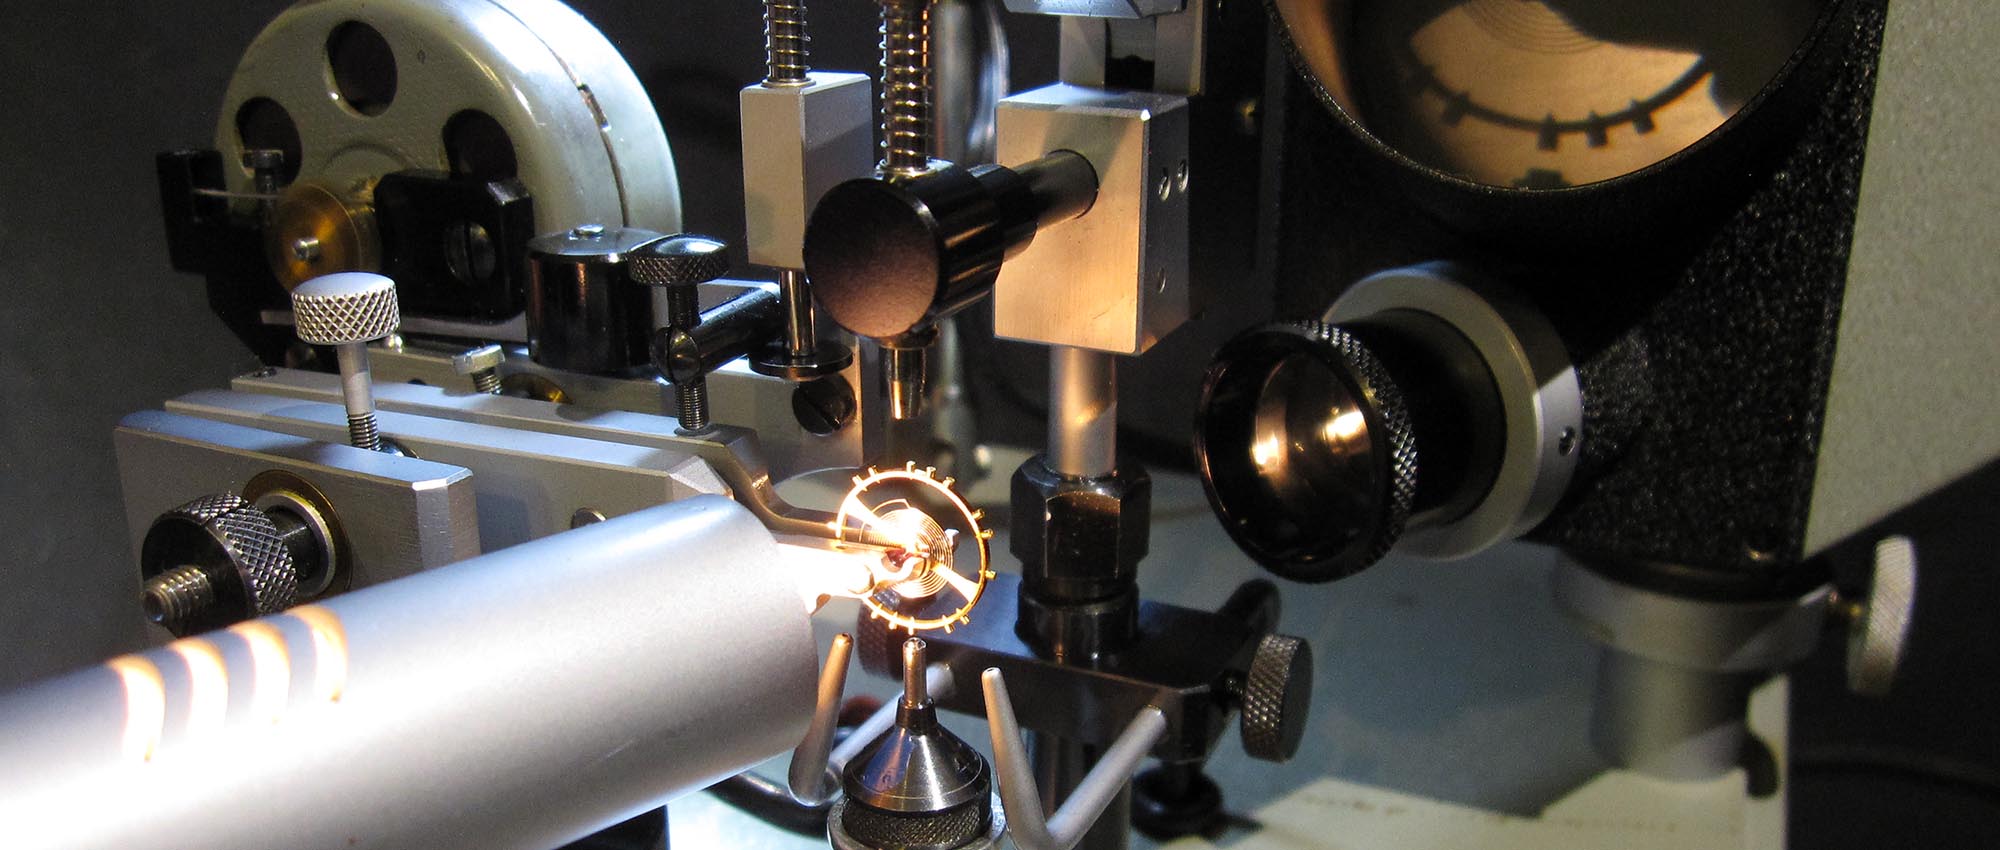
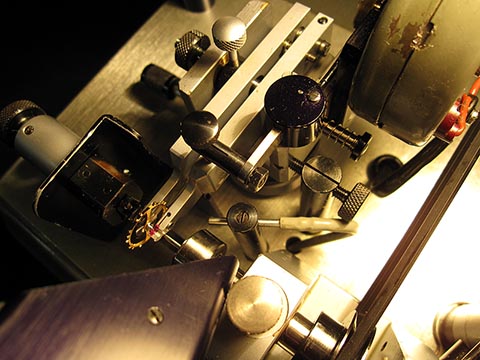
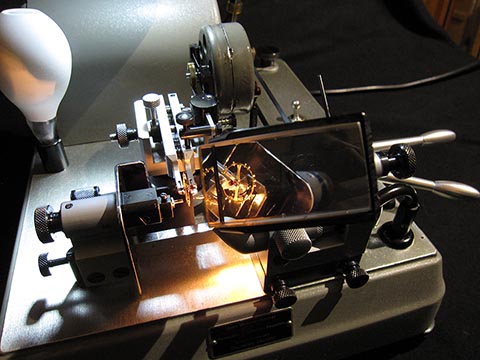
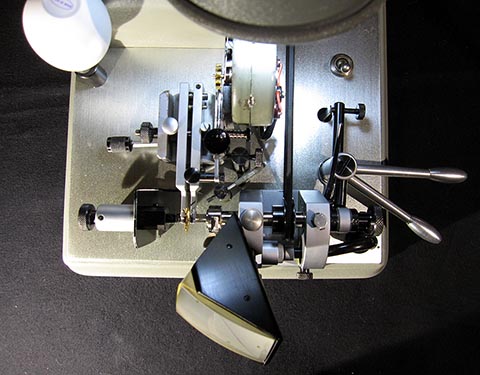
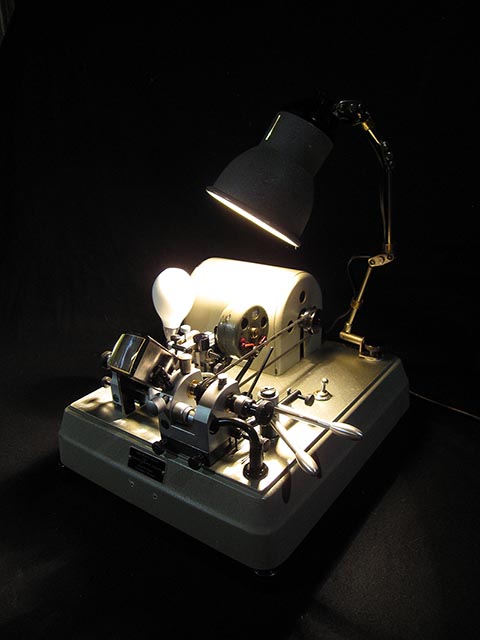
The manufactured balance is placed on the measuring lever. Pressing the hand pumps supplies air to the movable nozzle, causing the balance to rotate. When the balance comes to rest, any imbalance becomes visible, and the heavier part moves downward under gravity.
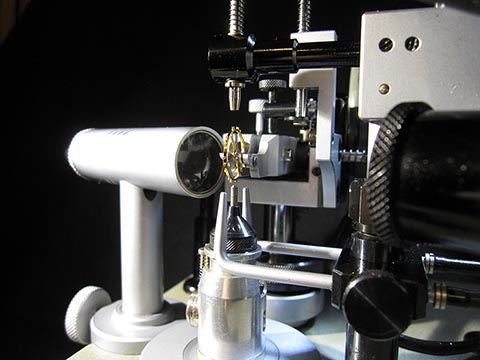
Pressing the lever activates the vibrator, improving the measurement procedure.
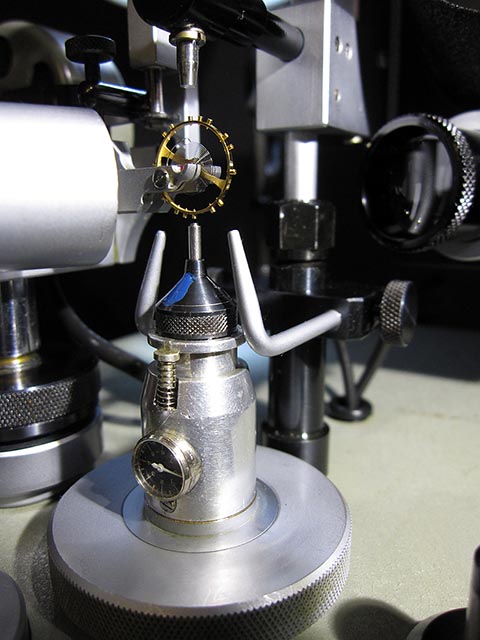
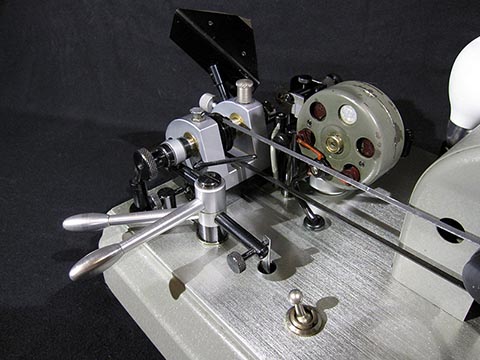
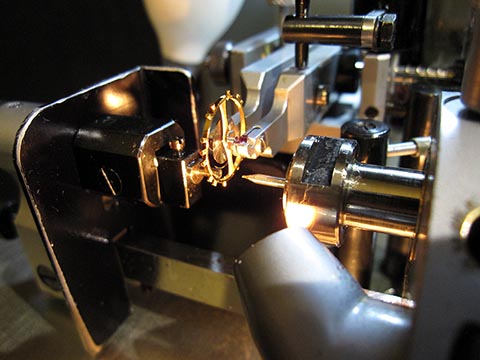
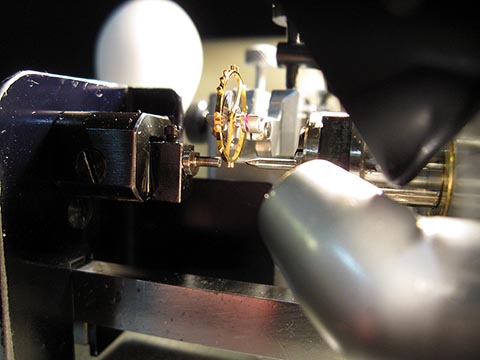
The next step is to identify the screw that needs to be lightened. Material is then drilled out of the screw head. The device has a drilling spindle with a collet that holds a 0.4 mm drill bit. The drill diameter is limited by a gauge, and the drilling depth is indicated on a measuring dial, allowing precise balance leveling.
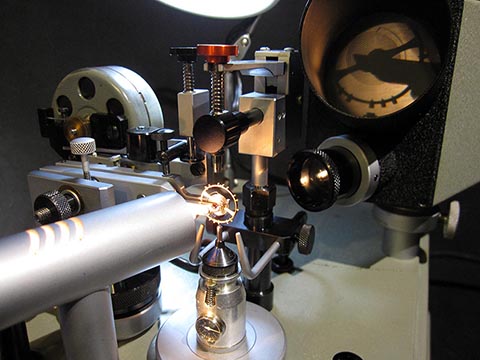
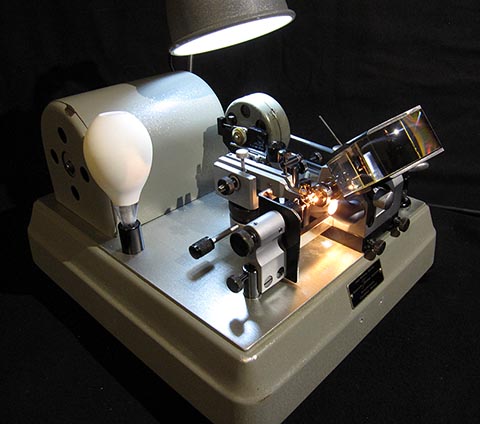
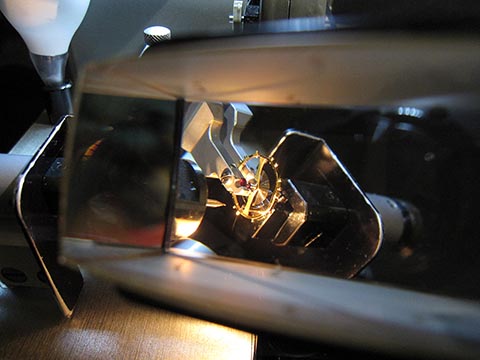
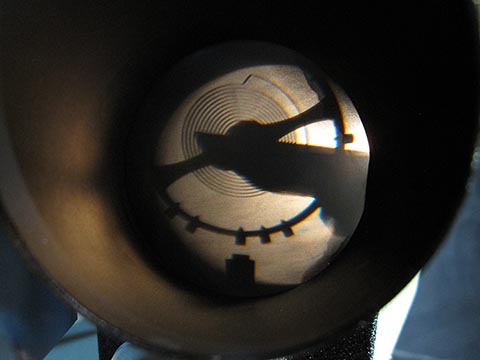
Setting up and adjusting the device is very versatile. For example, the drill can be precisely aligned with the indicator needle. All critical components use ball bearings or ruby bearings, minimizing the effect of gravity on the indicator. Using a light beam, the black silhouette of the balance is projected onto a small screen—an interesting complement to the watchmaker’s loupe.
In fact, I deduced how the device operates myself through trial and error.
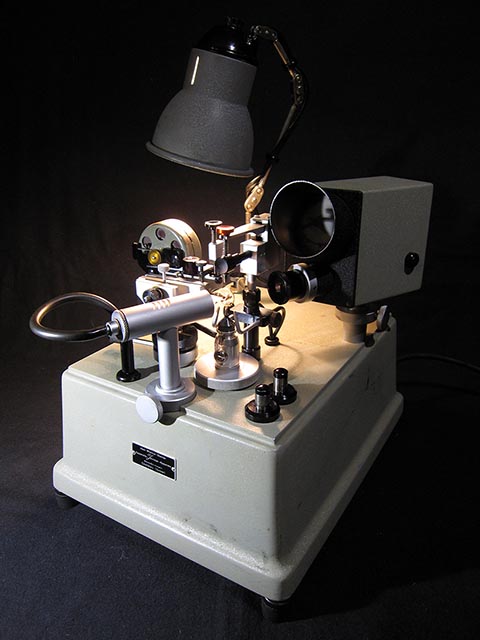
It goes without saying that the device must be meticulously leveled before use, just like a standard balance leveling instrument. This is done using adjustable feet and a level, as there is no built-in leveling mechanism.
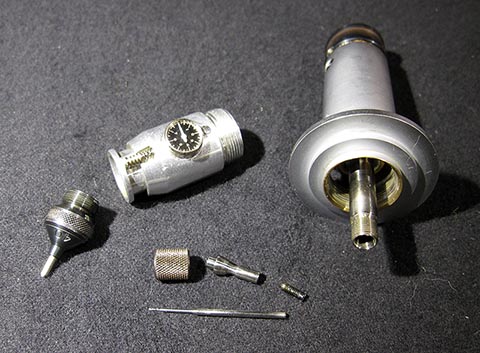
I was also able to see two other devices of this type, where I could compare the modifications and improvements. On one older device, obvious wear on some surfaces had been corrected by the designers with ruby replacements.
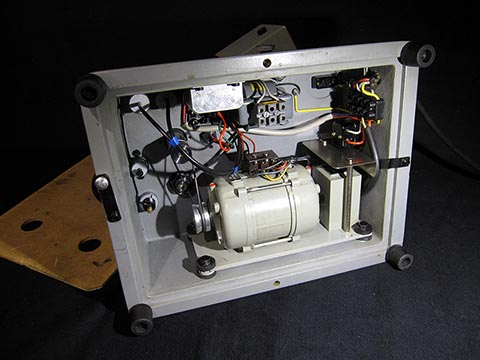
In general, the long-term performance of the machine in a factory can only be judged by the large pile of metal shavings, indicating how many balances were leveled here.
The main components of the device are made of aluminum and brass, chosen for their non-magnetic properties necessary for the measurement process.
